When I want to practice my drawing skills, I usually reach for my colored pencils or oil pastels. I have the most experience using those materials, so I’m very comfortable, and they don’t make too much of a mess, so my set up and clean up times are minimal. But I absolutely love the look of drawings made with chalk pastels and wanted to start a project that utilized the unique properties this material has. Chalk pastels, also called artist’s pastels or soft pastels, blend almost effortlessly. The colors are bright and rich, so it’s easier to create a vibrant picture with chalk pastels than with other drawing mediums. And I thought, “what could I draw that would be amazing with chalk pastels?” The answer for me was jellyfish!
Jellyfish are really appealing as a subject because they have interesting organic lines, color, transparency, and iridescence. I wanted to make sure I worked to get the movement right, that combination of swimming and floating we think of when we think of jellyfish. I also chose to use black paper to highlight that transparency and iridescence and using the highly pigmented chalk pastels makes it easier to create those illusions with bold color. Plus the black paper makes a complete background, since deep sea jellyfish swim in the darkest part of the oceans, and I could center my subject without having to add anything extra.
Now for this picture, I wasn’t trying to create a perfect recreation of one particular jellyfish. I was inspired by different pictures of different types of jellyfish and combined the parts I liked in each to make my own colorful creature. If you want to try to make a perfect depiction of your favorite jellyfish, then go for it! My imagination always creeps in and adds things that I think would look good, so sticking closely to a model isn’t my preferred artistic avenue, but both ways are equally wonderful. Try different techniques and styles, but make sure you honor the artist in you by creating your artwork the way that you feel is best.
The first jellyfish I drew was visually appealing yet wasn’t balanced. I liked the color combination, but it lacked the transparency of the creature. On my second attempt I used an eraser to try and get that transparency by removing some of the chalk pastel on my paper. I wasn’t sure if it would work, but it did, and I was so pleased! I’m glad I used that trial, or “sloppy copy” as I often call it, to see what didn’t work so I could improve my next attempt. All told, I spent hours on 5 practice pictures before I created one I was proud to show you. Here’s what that first completed picture looks like:
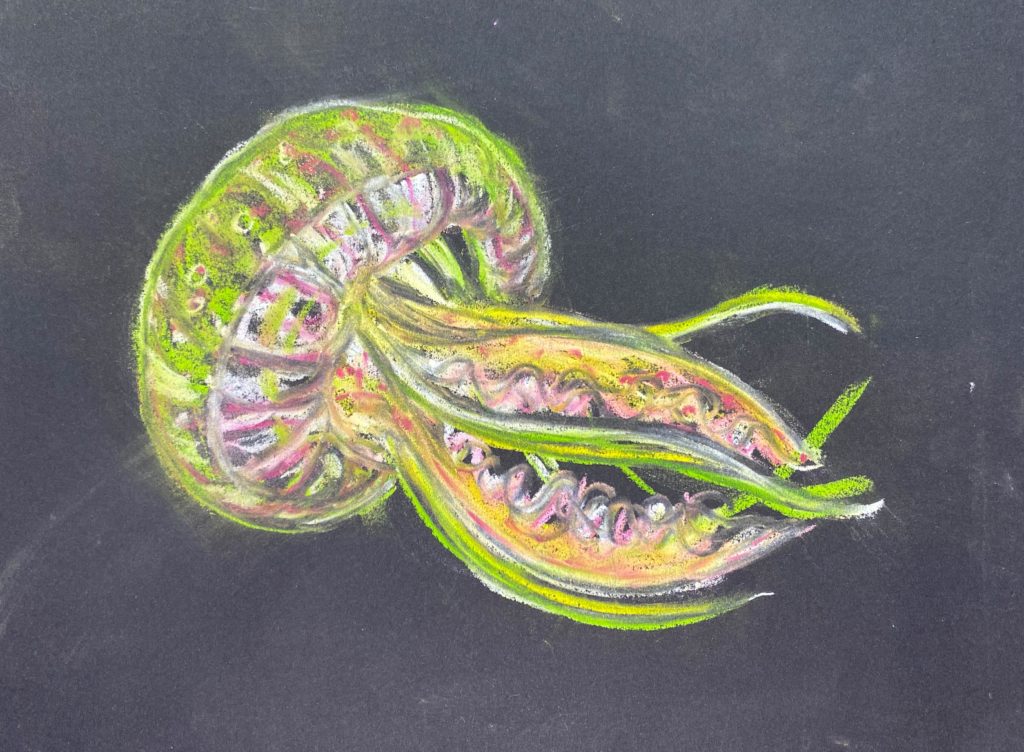
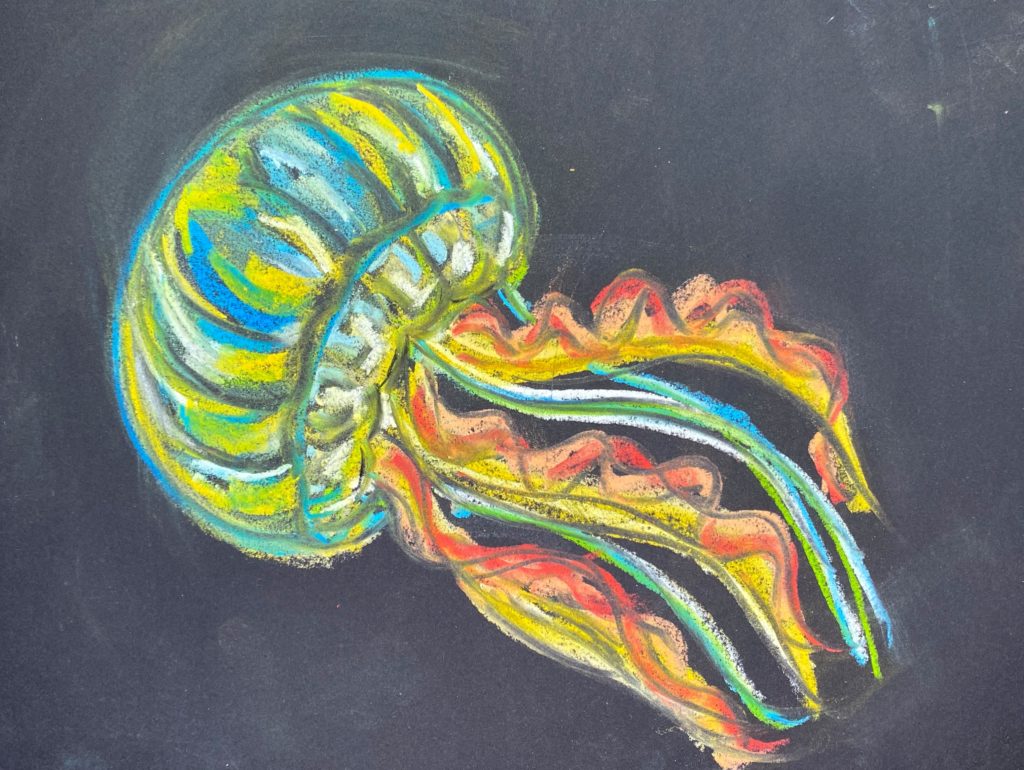
And here’s the completed drawing that I made while filming, notice I kept the shape consistent with the previous attempt because that was the shape I practiced the most and became comfortable and confident with:
In making this Jellyfish drawing I used only a few materials: chalk pastels, black paper, a hi-polymer eraser, and my fingers. You can also use a tortillon, or blending stump, but I found I had more control when blending with my fingers.
Here are the steps to create your own jellyfish:
- Find and observe photos of jellyfish. I used Google image search to see many different options for models of jellyfish.
- Set up your workspace with a covering of some sort. Chalk pastels create messy dust, so make sure you can easily clean up by covering your art area with newspaper, craft paper, or any other cover of your choosing. When trying to remove the dust on your picture, use your breath, a small hand fan, or a piece of stiff paper to blow it out of the way. Trying to use your hands will just smudge it onto the paper.
- Choose and test your chalk pastel colors on a piece of black paper. The colors need to be compatible, and you might be surprised at what colors compliment each other and which don’t go at all. Start with complimentary colors, like the ones opposite each other on the color wheel we learned in Module 2.
- Put a bit of chalk pastel on your finger and map out your shape. I think fingers are your best tool, so use yours here like you would a pen or pencil.
- Continue by making a contour drawing of your jellyfish using multiple colors. We went over contour drawings in the Foundations Course, and those skills come in handy when creating the organic shapes of the jellyfish.
- Add color bit by bit and blend gently. When smearing or blending do so lightly because the chalk pastel can virtually disappear. I found this out the hard way and ended up with a jellyfish picture without any definition, it was way too blurry.
- Use your eraser to remove some of the pigment along those contour lines and create that oh-so-important transparency and depth in your jellyfish.
- When you feel your drawing is complete, remove the chalk pastel dust by blowing or fanning it off your paper onto your workspace covering. Clean up that dust and the rest of your workspace and go show off your artwork!
- Optionally, you can use a spray fixative to make sure your finished drawing doesn’t smudge. Make sure you use the fixative outside or in a very well-ventilated area.
Enjoy yourself while creating a unique, colorful jellyfish drawing using chalk pastels, and be sure to share your finished artwork with me on Instagram @artwithmisslinda.