One of my favorite ways to create art, and art lessons, is to look around the house for unusual materials that can be used as tools. I like to find things that people might already have in their homes and repurpose them to make art projects more creative and hopefully a little more accessible to all. I’ve done this multiple times and, this past summer, I found using a squeegee with acrylic paint to be an excellent mark making method. This project expands on that X-ray style printmaking class because, after experimenting with my squeegee as a mark making tool, I was curious to see what a putty knife would create.
In my first attempt with this method, I used black acrylic paint on white paper, but I felt like it was missing something. Since I have always been fond of light-colored paint on a black background, this was the perfect time to engage my preference (which I also used in the mark making lesson).
So it was time for me to experiment and test my options with different tools, mediums, and substrates (the surface on which the paint is placed, usually paper or canvas). I believe it is essential to become comfortable with, and know the limitations of, all of the possibilities. Take these questions into account, because the knowledge gained from answering them is vital to know prior to investing time in a piece:
- How much pressure is needed to move the paint and not simply push the paint aside?
- How much paint is needed on my tool to provide coverage?
- How does the paper absorb or reject the paint on its surface?
Keeping all this in mind, I know that acrylic paint has more flexibility and a slower drying time so it was my choice of paint. Tempera could also work, but it has a different “feel” than acrylic which wasn’t quite what I was looking for in this painting.
I also knew I needed to choose a heavier grade of black paper in order to support the acrylic paint and the movements done using these tools. There are papers created specifically for acrylic paint, but any heavy grade paper without much texture would work. I used some construction paper for most of my trials, and it worked very well.
I got lucky with my first choices, and everything was easier than I expected. The tools and paint were cooperating on the paper, and I had already previously used this method, so I was all set to put my practice into action.
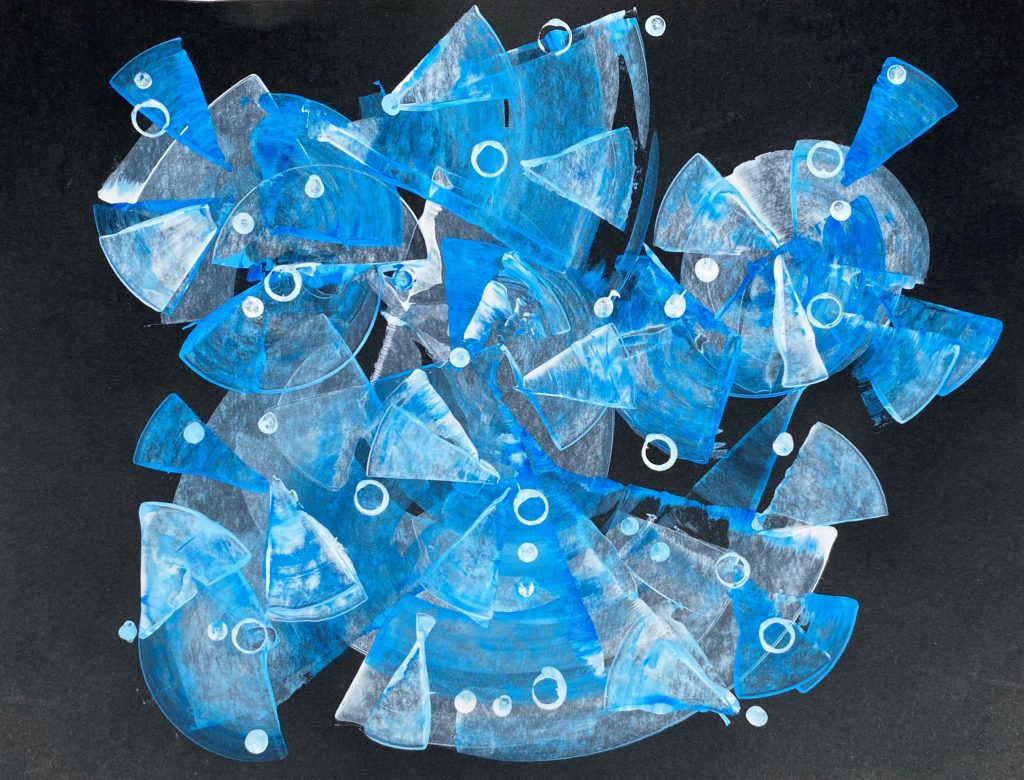
I knew I wanted a nonobjective piece, and let the tools and paint guide me. Balance, positive and negative space, color distribution, tones, and shades all essential to watch out for, even when I feel like I’m following the natural way of the materials.
I had originally planned on using only white and light blue paint, but when dabbling I again noticed something missing. Adding a dark blue paint was a perfect “punch” to highlight the light colors, and it got me closer, yet did not quite have the movement I wanted.
Then I tried adding some dots and circles, and it actually created the gentleness I was looking for. Those small additions put resting points between the action, and I often say a few dots can change your work, they were essential details that pronounced this art piece complete.
Here are the materials used in this project:
- Acrylic paint in light and bright colors
- Heavy grade black paper
- A squeegee
- A plastic putty knife
- A marker and/or pencil
- A plate or paint palette
- Paper towels or other art towels
The steps to create this artwork:
- Dip a squeegee or putty knife into the acrylic paint and place on paper. Using a fluid motion, move one side of the tool in a semi-circle while leaving the other side anchored in place. This creates the fan-like shape.
- Repeat step one all over the paper using a squeegee and/or putty knife in varying colors until satisfied with coverage and balance of the piece. You can use a towel to clean your tools between colors or choose not to which could lead to some interesting color mixing.
- Using the back of a pencil or marker cap or other round item, dip into the color of your choice and begin to stamp dots and/or circles around the artwork.

After I finished the piece from the time-lapse video above, I was curious about trying different surfaces with this style.
First, I cut a section of poster board to try, because I knew that it had a coating already on the surface, similar to a layer of paint. The paint did not adhere with visible texture, it simply moved in a one tone, smoother fashion.

I was having too much fun to stop there! Next, I put a light coat of white gesso on an inexpensive canvas panel, then two coats of black acrylic paint on top of that to see what would happen. This was opposite of the poster board piece; it was a bit choppy to move both paint and painting tools. I should have known, as the texture of the canvas was right there before my eyes.
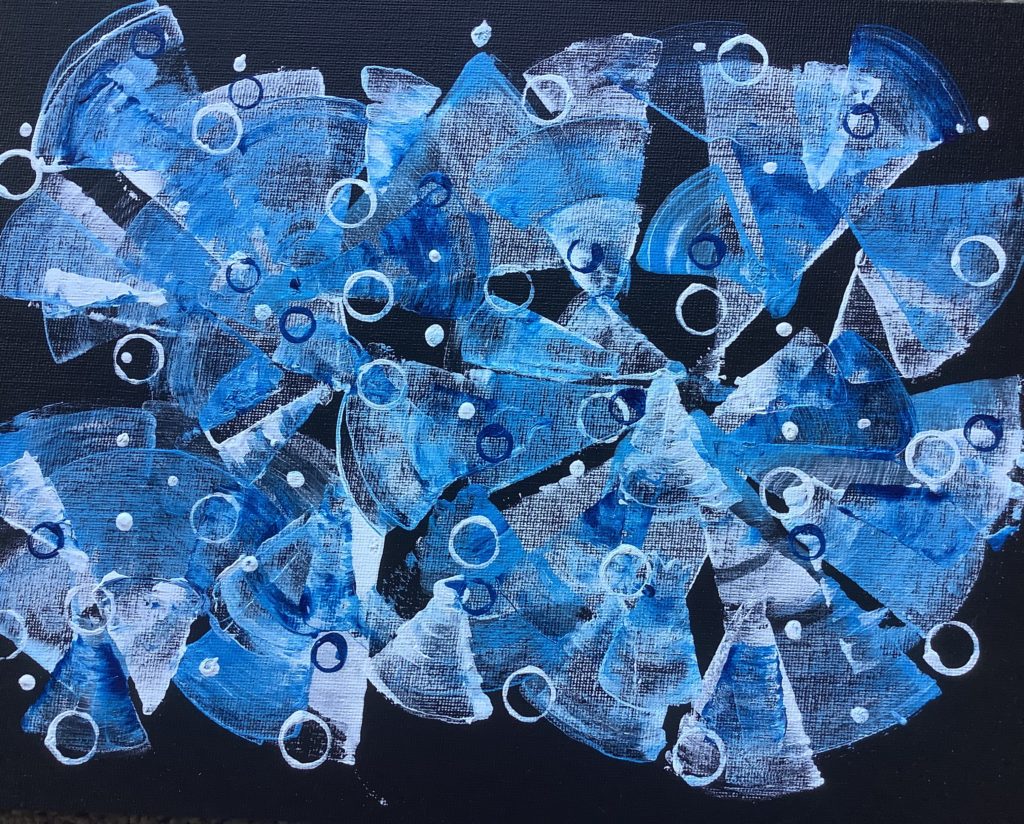
Although it took more effort both in slowing the speed of my movements and figuring out the varying fluidity of the paint, I enjoyed the differences between all of my trials and experiments. This project made me focus on being more direct and intentional, as you know I usually tend to just go with the flow and see what happens. Another lesson learned!
When going beyond what works, and when we keep trying to push the envelope by doing a little bit of this and a little bit of that, we increase our knowledge and can help fulfill our creative selves. Practice makes you confident, so keep practicing, trust yourself, be fearless and willing to grow with your experiments through challenges and successes.
