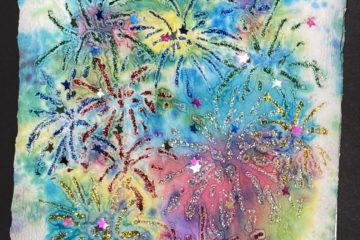
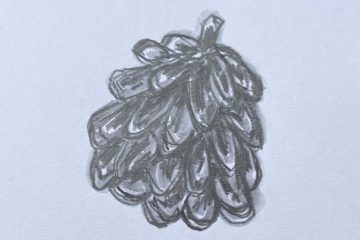
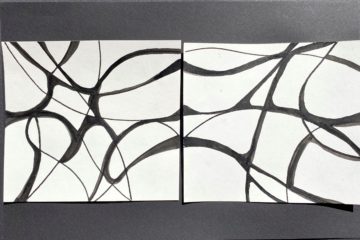
Mark making has quickly become one of my favorite ways to create art. I know, I know, it seems like I say that about every technique or medium I teach. And it’s true! At one point or another, each artistic process is incredibly special.
But there’s a bonus with mark making. I love it not just because mark making has really interesting and appealing results, but also because it gives me the opportunity to reuse materials that would otherwise be considered trash and thrown away. The objects you can use are endless and can be found everywhere. I have made my own tools, retooled traditional tools and have now begun using unusual objects
Needless to say, my home and garage are filled with so many art supplies, as well as things I save “just in case.” Sometimes my saved items have a practical reason to keep, but more exciting are the things that offer the promise of something new and creative. Like my treasure box full of objects my home is virtually a giant treasure box.
While again looking through my supplies for inspiration, I came across several bags of saved puzzle pieces and decided it was time to use them for an art lesson. I didn’t have to ponder too long about what to do with them, I thought they would look good stamped on paper to create a picture. I used a glue gun to attach the individual pieces to corks, creating handles for the stamps, and grabbed my ink pads.
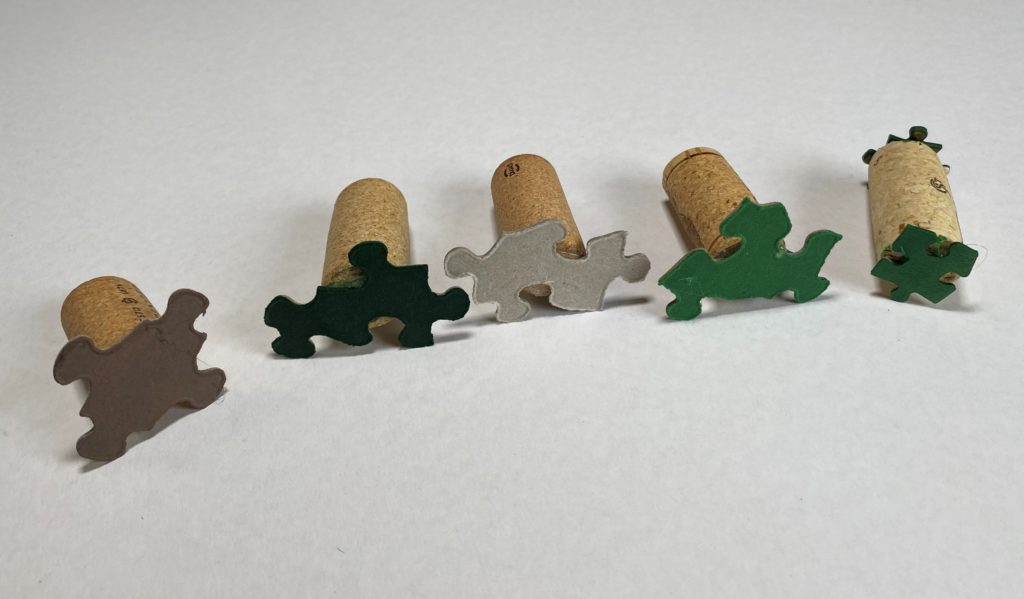
Looking at my stamps as a group, in all different shapes and sizes, I was reminded of the fullness of a large tree. So, the tree was what I chose as my subject. The problem I had was that none of my stamp pads were green!
Coincidentally, my daughter called me from a craft store to see if I needed anything. She brought me three different shades of green, and I felt so lucky that my little problem was taken care of so easily.
As always, I tested and tried and experimented with my new tools and stamp pads until I was comfortable with their application. From there it was almost like play time: taking my puzzle piece stamps, adhering the ink from the stamp pad, and just creating a tree full of leaves.
I was careful to create shaded and highlighted areas, open and full spaces, and kept the limbs visible. The tree trunk worked best with the smallest pieces, ones that had a flat edge, to make it as textured looking as possible. The leaves were more varied; I used all different shapes and sizes, and layered different greens, to try and create that movement leaves on a tree have.
Here is the result of my first completed experiment:
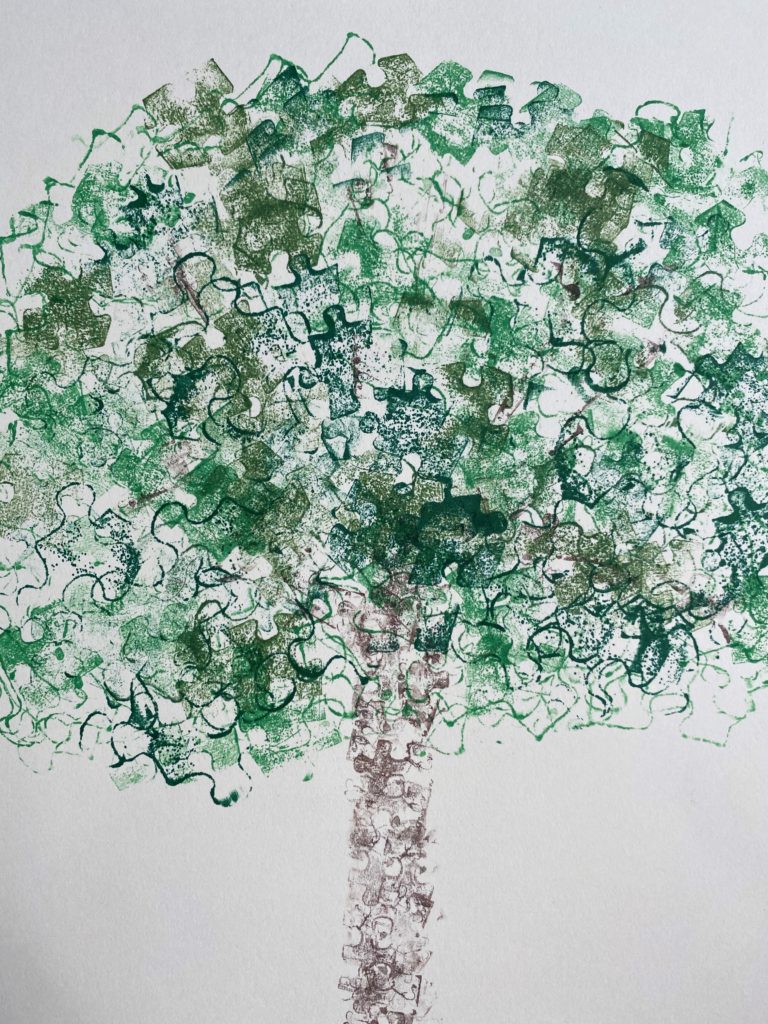
What I used to make my tree:
- Puzzle pieces (check a secondhand store for an inexpensive option if you don’t have any old puzzles you can use at home)
- Corks
- Hot glue gun and hot glue sticks
- White paper
- Stamp pads in brown, dark green, and light green. I also used olive green, but more than two greens are optional.
How I created my stamps and tree:
- I chose the pieces I wanted to use for my stamps. A variety of shapes and sizes are best, I didn’t use all my stamps but was glad to have options.
- Using a hot glue gun, I attached my stamps to the corks. Some corks had one stamp at one end, and some corks had a piece attached to both ends. Do what works best for you.
- After the glue had dried and cooled completely, I used my small stamp with my brown ink pad to create the trunk and branches.
- After I was happy with my base, I used my darker green ink and a larger stamp to begin creating my leaves. I alternated between large, medium, and small stamps to get some variation and interest in there.
- Next, I filled in my tree with stamps in the lighter green ink and olive green ink. Again, I varied the sizes of my stamps.
- To finish, I went back with any colors or stamps that needed more presence to balance the look of my tree.
And this was my final product:
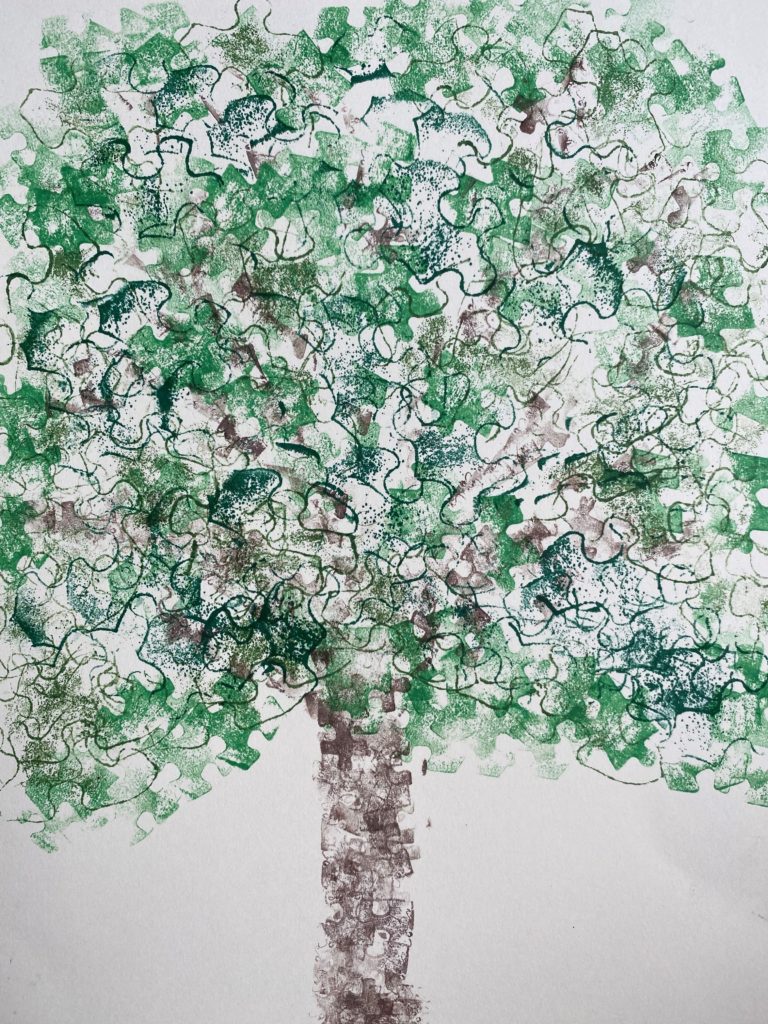
This was a simple, fun way to use a bag of old puzzle pieces to create something artistic and interesting. And there are so many different subjects you can choose with this tool and technique! What is better than following through on an idea, no matter where the journey takes you or how long it takes, to have a playful time creating beauty? Never think that your options and ideas are limited, as anything and everything can be used in your artistic process.
