I have been enjoying experimenting with the vintage ruling pens I inherited from my father. Previously I used markers as the background to my artwork, which were different types of birds and insects, but for this new trial with watercolor paints I wanted to try something more abstract. For me, abstract subjects are an enjoyable way to practice new tools, mediums, or techniques; I don’t worry so much about getting it perfectly right the first few times and I feel freedom to push myself farther than I might with a more realistic subject.
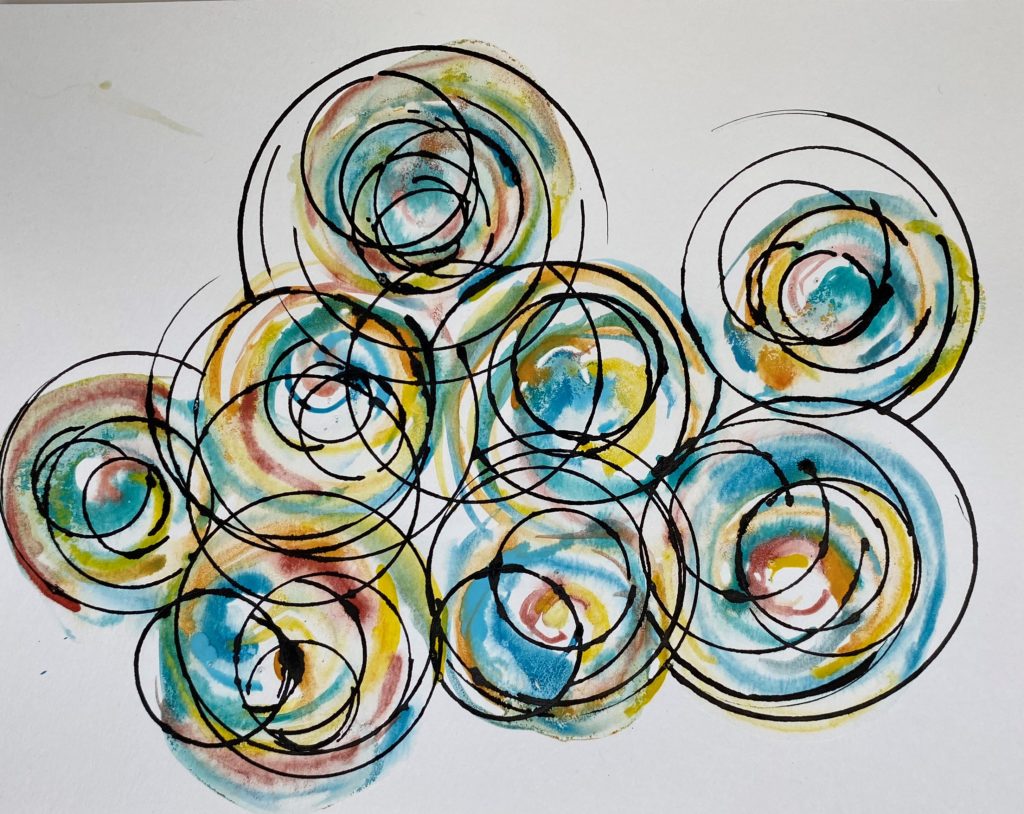
My goal for this artwork was to create circular lines with the ruling pen and ink over some round, globe-like, watercolor paintings. I found that attaching the ruling pen tip to the included compass was the way to attempt these circles.
I was so excited to combine these two mediums. The India Ink is still so fascinating to me, with its fluidity and permanency. The watercolor paints also have interesting fluidity, and I made sure to take the time to choose colors that complimented each other and would create visual interest when behind the black ink.
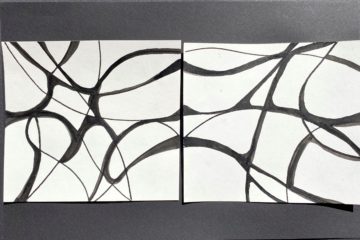
I did forget how independent watercolors can be once they get on the paper, so some of my experiments were not even considered for the final project (but I did use them for scratch paper, since it’s important not to waste anything). Here is one example where I began with too much water on the paper before I started painting, you’ll see that the picture lost much of its definition:

I found that I needed patience, and much less water, to accomplish what I wanted. It took me several attempts to remember how to encourage the watercolor paints to behave the way I wanted them to.
Once my circular globes on watercolor paper were completely dry, I began to slowly use my “compass tool”. I practiced using this new tool prior to final application on many surfaces, and on some of my less-than-ideal watercolor globes. Always practice new methods before you’re ready to do a finished piece.
There were two methods of use that seemed to work. The first was going very slowly with the compass/ruling pen to ensure the ink does not run dry and the compass does not slip. The second was to hold the compass tool firmly and turn your paper in a circular motion. I found I preferred the second method.
Once I was confident in my ability to use the tool, and understood the amount of ink it would distribute, I began my final pieces. Here’s my first completed artwork:
Materials I used in this project:
- Watercolor Paints
- White watercolor paper
- Paintbrushes, including one broad enough to cover the paper with a wash of water
- A cup filled with water
- Ruling pens with compass
- India Ink
The steps to create your own version of this project:
- Take your broad paintbrush and dip it in the water. Shake off excess, then “paint” a thin layer of water onto your watercolor paper. Too much water will cause your watercolor paints to behave strangely (see example picture above).
- Begin painting circles and half circles on your paper. Start with one color, then move on to the next until you feel satisfied with your colors and shapes. Feel free to go back to a color for balance as you paint. Remember, these do not need to be perfect circles, they can be more organic because our ruling pen will add the geometric focus in.
- Let your watercolor painting dry.
- Using a ruling pen attached to a compass, dip the tip of the pen in India Ink and begin to make your circles. The compass can be narrowed or widened to adjust the size of the marks. I like to cross some circles over one another to add interest to my design.

The colorful organic almost bubble-like images were exciting to see and yet had a gentle natural look. Thank you for joining me for yet another ruling pen experiment! I had a blast with this project and can’t wait to see what you come up with.