Today I wanted to bring out a unique, and what may seem unusual, material for some 3-D sculpture fun, gummed paper tape. I love finding new ways to use unexpected materials in our art lessons, using a material you’ve never tried before is an adventure and important to our art education!
Gummed paper tape, sometimes called water tape or kraft paper tape, has been seen sealing up shipping boxes for decades, but it isn’t something found in most homes anymore. It seems we favor clear packing tape for personal use now, but you do see this brown paper tape still used on many commercially shipped packages, often printed with a company’s logo. If you do happen to have it in your home like I do, or if you get a chance to purchase it at an art supply or shipping supply store, it makes for a fun medium to work with in collage or sculpture.
The advantage of using this paper tape is that it already has a dry adhesive attached to one side, so we simply need water to activate and then we can stick it to whatever surface we choose. It works best attached to cardboard or other paper products and each brand of gummed tape is a little bit different, so start out with a little bit of water and add more as needed. Experiment and see what works best for what you have.
I decided to use my gummed paper tape to make an abstract sculpture, and I think it turned out really well! Creating a sculpture using these materials was fairly simple and not too messy, which makes it a perfect activity for artists of all ages.
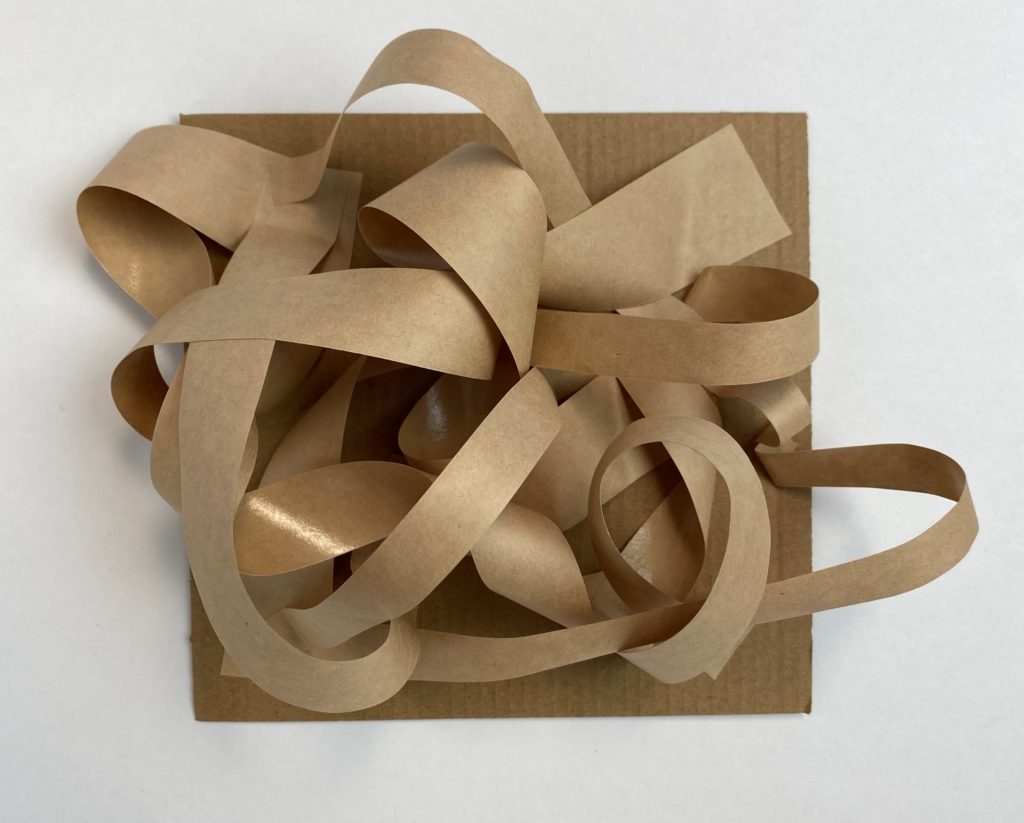
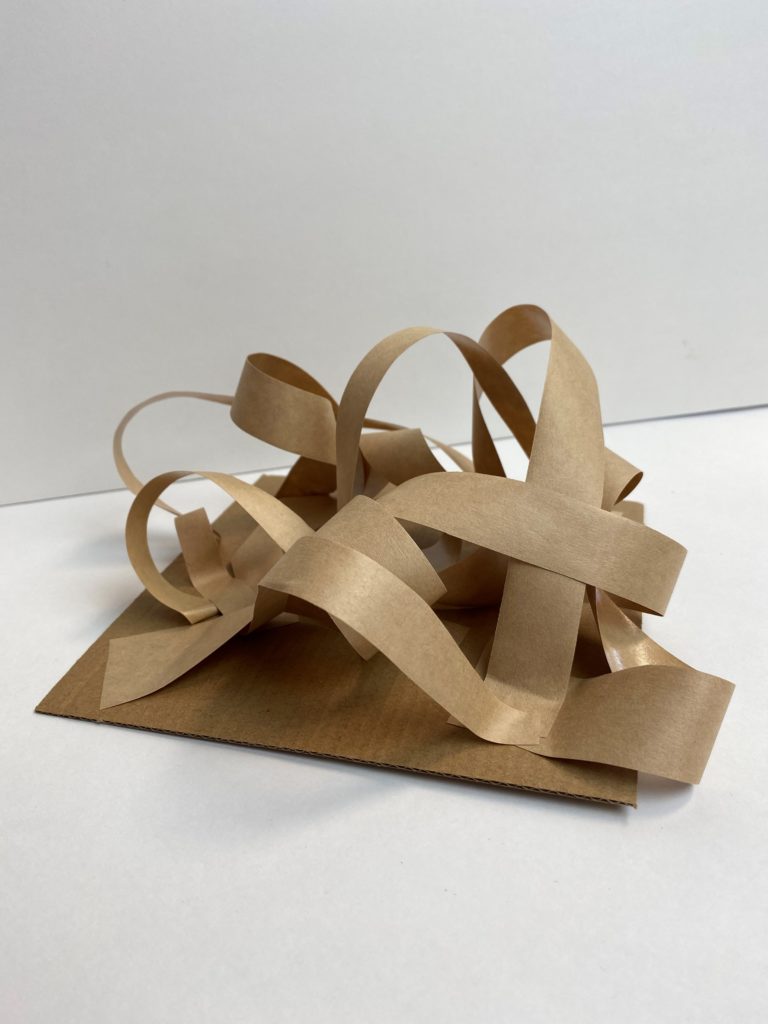
My goal for students who try this project is that they begin to notice and incorporate a sense of balance, flow, and rhythm to their sculptures but at the same time let the artwork be free and whimsical! I promise all of that can be true in the same piece.
The materials needed for this sculpture are:
Gummed paper tape (also called kraft paper tape or water tape)
Cardboard for the base
A small container of water
Scissors
A small sponge
White glue (optional for securing stubborn pieces)
How to make an Abstract Paper Tape Sculpture:
- Determine what side of the tape is the gummed side, it’s usually a little shiny. You’ll need to use some critical thinking skills to make sure the side of the tape that lands on your base is the side that will stick to it.
- Cut sections of tape. I chose to make my tape sections approximately the same length but cut some strips in half to add variation in the widths, which adds interest. You can choose to add variation in length, width, and even pattern if you want to draw on some sections.
- Make some folds or twists in your first section of tape. There is a natural movement to the tape that needs to be honored and will help guide your creative process. Don’t fight with the tape, work with it.
- When you’re happy with your section, make a small foot on each side of the tape (gummed side down!) and get ready to adhere it to your cardboard base.
- Dip your sponge in the water and squeeze some out, you want to make sure the sponge is wet but not dripping. Use the wet sponge to dampen the adhesive on your tape section’s first foot then press the foot down onto the cardboard. Start with less water and add more if necessary. Hold for a few seconds to make sure it’s stuck, then repeat on the other foot. If you need to, you can use a touch of white glue to reinforce your tape’s bond to the cardboard.
- Take a new section of tape and again make folds or twists. Weave this section around or under the previous section(s) that have already been adhered to the cardboard. Make a foot on either end of the tape, adhesive side down, and adhere using the wet sponge technique.
- Keep folding, twisting, and weaving sections of tape throughout your sculpture, then adhering them down, until you’re happy with how the completed piece looks.
- Share your finished artwork with your friends, family, and hopefully with me too on Instagram or Facebook!
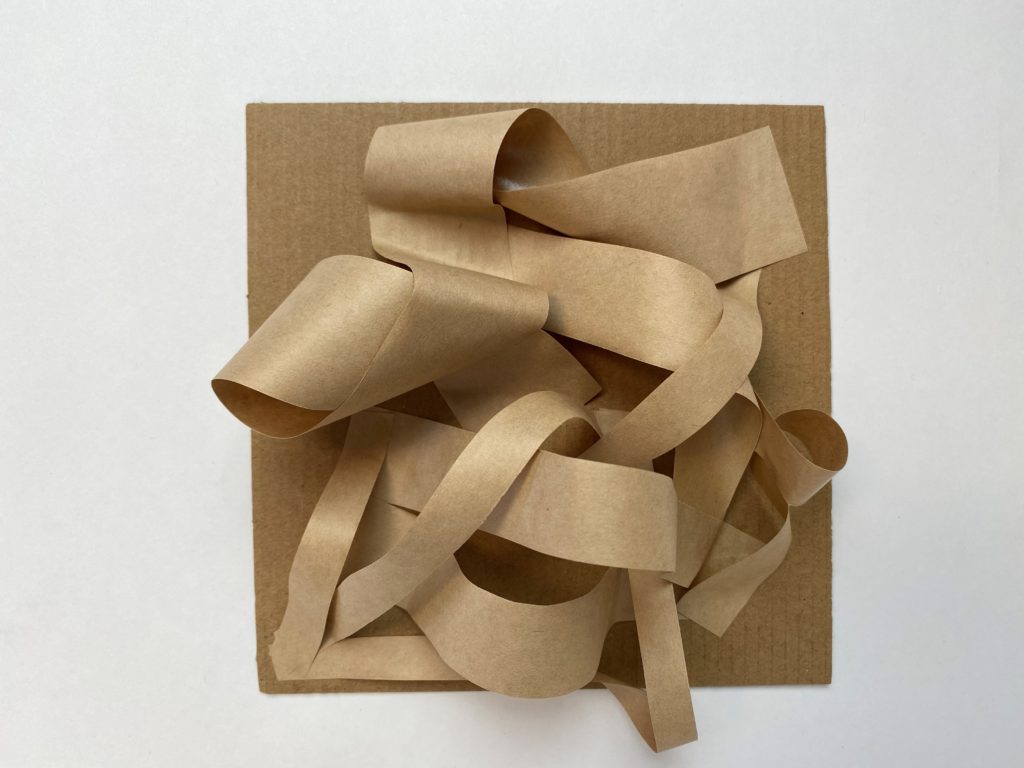
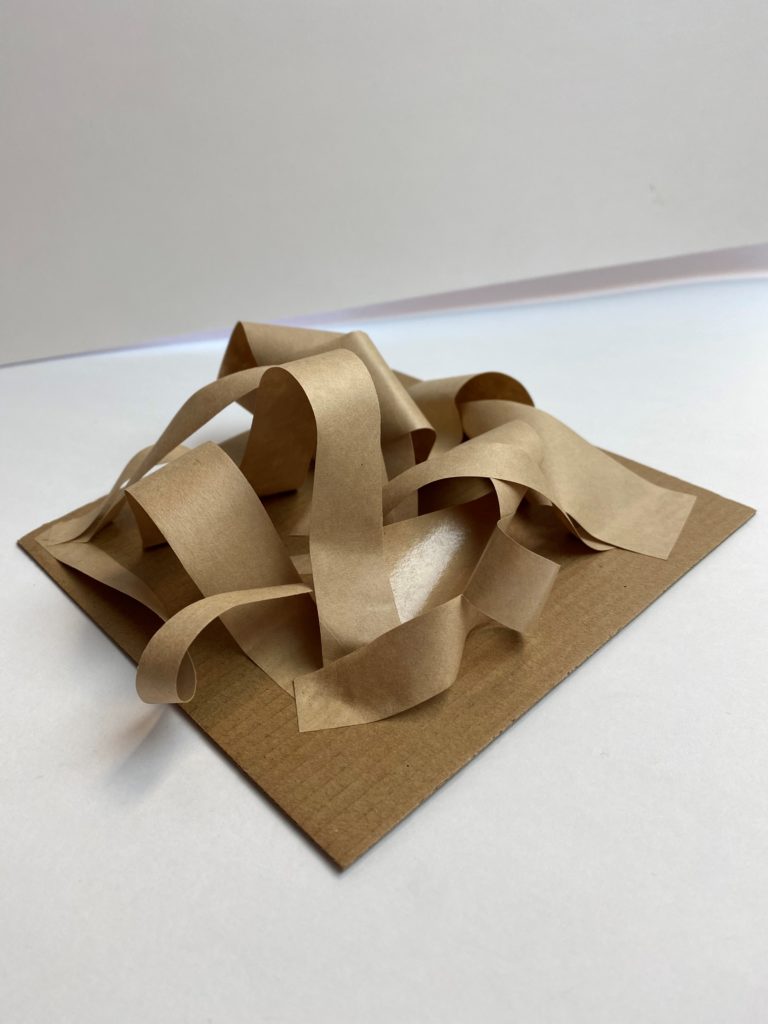
I created some abstract pieces, but you can try to sculpt whatever subject you’d like: insects, flowers, animals, buildings. The possibilities are as endless as your imagination. Have fun with this and don’t forget to teach someone else!
